The First Thing to Smoke on Your Pellet Grill
So, you’ve joined the ranks of Pellet Grill owners, but you’re not sure what the first thing you smoke with your pellet grill should be? It’s actually a far more common question that you think. Pellet grills are the fastest growing outdoor cooking utensil. They’re probably one of the most versatile cookers out there. You can smoke, grill, and even bake. Yes I said, “bake.” After all, at higher temperatures, they become wood fired convection ovens. I’ve even done a Caramel Apple Cheesecake in mine, but that’s another post. You’re here to find out what to smoke for the first time.
A Cut above the rest
In my honest opinion, the good ‘ol Pork Butt is the best piece of meat to use for your first big smoke. It’s probably the most forgiving, yet incredibly tasty cut there is. No, it’s not from THAT part of the pig. Pork Butt is another name for the upper part of the front shoulder. It’s also known as a Shoulder Blade Roast. It’s actually really difficult to mess up. There is a ton of intramuscular fat running through it that will keep it moist. Even if you over cook it a little bit, you’ll still look like a BBQ God to your friends and family. There are a few things to do to make you successful.
Pellets are in the name
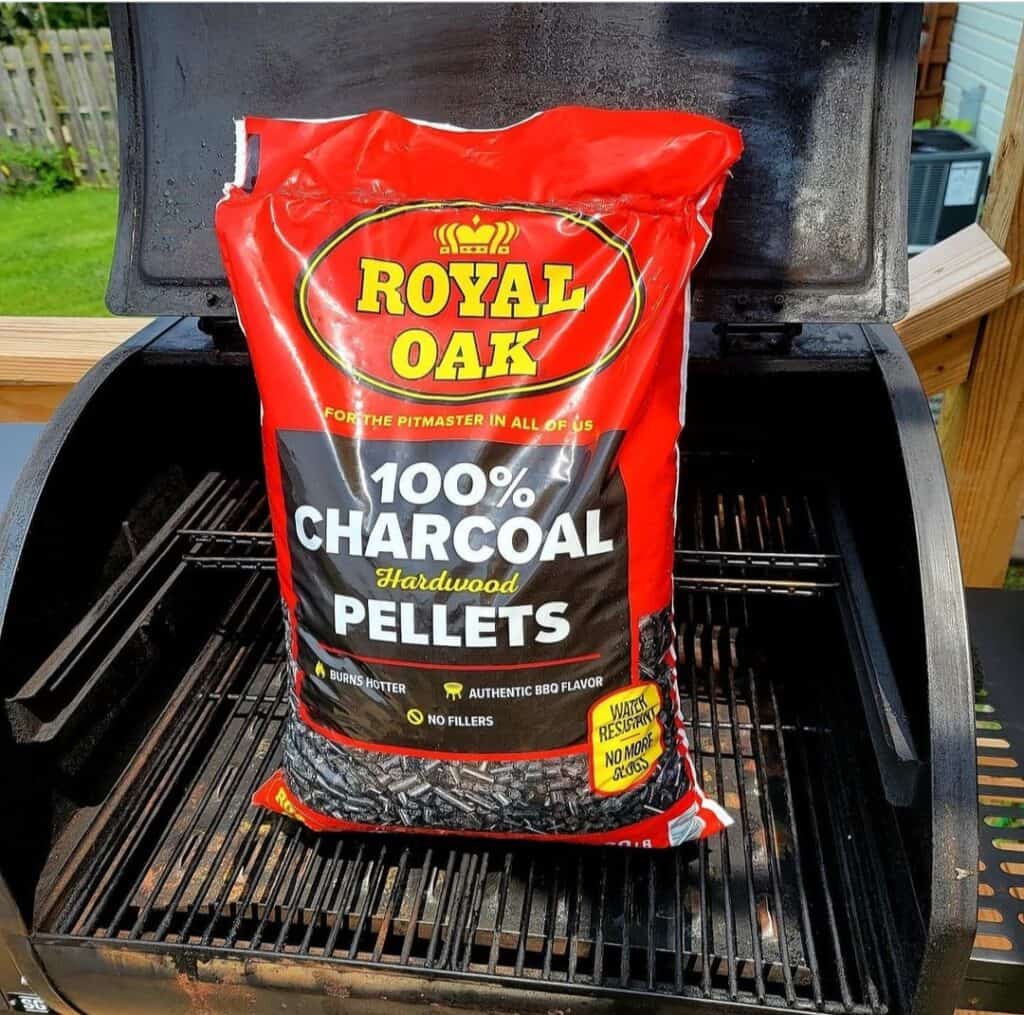
It shouldn’t surprise you that you need to have pellets to cook in a pellet smoker. There are many types of pellets on the market. I’ve even done a YouTube video reviewing some. Have a good stock of pellets on hand. On average, during a smoke, your pellet grill will use roughly a pound of pellets per hour. You may have heard that pellet smokers are “set it and forget it.” That’s true for the most part. You may not have to feed wood splits every hour like an offset smoker, but you do need to keep an eye on the pellet level. I myself, have lost track of my level during a long cook and ended up with a “flame out.” Make sure your hopper is full when you start a long cook. You also want to watch out for, “the cone of death.” It sounds like something from a horror movie, and quite frankly, it can ruin your day. “The cone of death” is when the auger at the bottom of your hopper pulls pellets in, but they don’t go in evenly and a tunnel forms. You can run the auger empty and still have pounds of pellets in the hopper. Keep an eye on it.
A little trimming required
When you get a pork butt, there will be a thick fat cap on it. Fat is flavor right? The problem is, too much fat and you won’t get any smoke penetration in the meat. That’s the whole point of smoking meat isn’t it? This is one of the reasons I like pig butts and I cannot lie. Unlike a lot of other cuts, on a pork butt, you really don’t need the fat cap to keep it moist. Like I said before, there is plenty of intramuscular fat to keep it moist. This is very controversial topic, but I personally like to remove the entire fat cap. There, I said it. The way I look at it, the fat cap not only keeps the smoke from getting to the meat, but is also blocking the rub you use from contacting the meat. At the minimum, you should score the fat cap to let some rub and smoke stick to the meat itself
Which way is up?
Get Fired up!
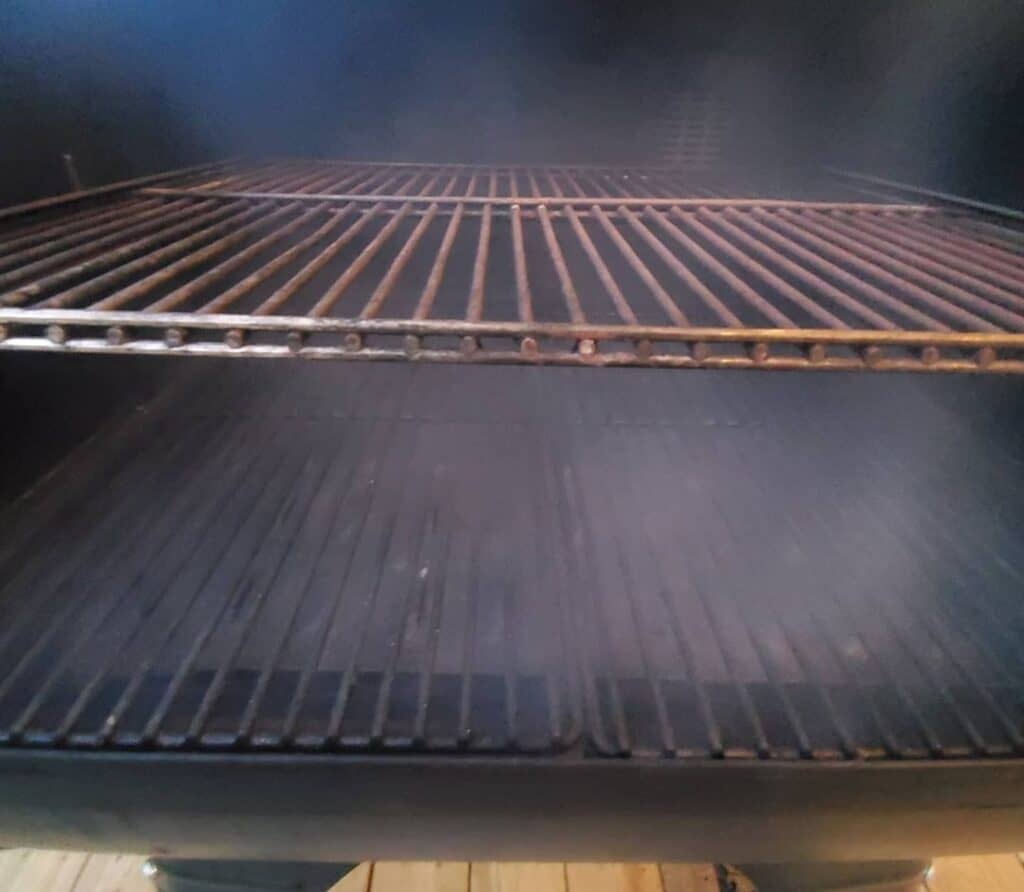
You want your smoker to be at the right temperature before you put your meat in. All pellet smokers have a startup cycle. Before you do anything with the meat, go ahead and start her up. For a pork butt, you want to run between 225 and 250 degrees. Low and slow is the way to go. It lets the fat and connective tissue to break down without burning the outside. The result will be amazingly tender and juicy meat.
A Binding contract
To use a binder or not? Binders help the rub to adhere to the meat surface. Binders aren’t really necessary for a pork butt, but it does help with the ease of use. The most common binders are yellow mustard and cooking oil. Mustard is probably the most favored. It doesn’t affect the end flavor, but the acid in it can help develop that bark that everyone wants. I personally use yellow mustard.
Rub it the right way
The biggest way to personalize the flavor of your pork butt is the rub or seasoning that you use. There are a ton of rubs commercially available. My personal favorites are Plowboys Yardbird and Flying Swine Seasonings Sweet and Smoky. I put the Yardbird first because it has a finer grind, then layer the larger Sweet and Smoky on top of that. You can even try your hand at making your own. Most pork rubs are made up of salt, sugar, paprika, garlic, and pepper. Try one, or multiple to get the flavor that you want. (Pro Tip: You can sprinkle a little of them all together in your hand to see how well they work together.) after you smear you binder on, apply your rubs and let the melt into the meat. You’ll see what I mean after it’s been sitting for a few minutes.
Ready to throw down
Your pit is up to temp. Your meat is properly rubbed. It’s time to put it in and get this show started. If you only have one grate, put it right in the center of the smoker. I’ve found that mine runs a little warmer towards the smoke stack, so I put the thickest part of the butt closest to the chimney. If you have the option of an upper rack, that’s where I prefer to put mine. I find the smoke engulfs the meat better on the upper rack. Plus, if you’re making something like baked beans, putting the pan under the pork lets the dripping add flavor to your beans. Whichever rack you choose, put it in, close the lid, and resist the urge to look at it constantly. The saying is, “if you’re looking, you aren’t cooking.” This is very true. Every time you open the lid, you’re changing the temperature of the chamber, which can affect your cook time. This is where the “set it and forget it” actually comes in. Most pellet smokers come with temperature leads. Put one in the middle of the thickest part of the meat, close the lid, and forget about it for a while.
Your favorite wrapper
Here’s another controversial topic in smoking. To wrap, or not to wrap? Every large piece of meat gets to a point where the temperature stops going up. In fact, it can even go down a little. This is called, “the stall.” What happening is actually called “evaporative cooling.” It’s just like us sweating. Once it gets to this point you have two choices; let it ride unwrapped, or wrap it up. Wrapping in either butcher paper or aluminum foil will in effect, braise the meat and help push through the dreaded stall faster. You don’t have to wrap at all, but if you’re short on time, it can help speed up the process immensely. The difference between the two wrapping materials is, foil locks in all the steam and juices, but can lead to softer bark, and butcher paper breathes a little maintaining a better bark. It’s up to you. To me, I usually wrap with foil. I’m still going to get the flavor I want, and with pulled pork, I’m not worried about having a softer, but still flavorful bark.
The waiting game
The whole cooking processes is a huge waiting game, but remember, you need to wait. Don’t try to rush things. Figure time wise on an hour to an hour and a half per pound. If you need you can turn up the temp to 300 after you wrap to speed things up, but it’s done when it’s done and every piece of meat is different. You can start testing for tenderness at around 195 degrees internal temperature. They usually finish around 205 degrees, but again, they’re all different. The best way to test for doneness is the probe test. Take a temperature probe (you can also use a chop stick or something like that) and push it into the meat. When it’s done, it should have the same resistance and if you pushed it into room temperature butter. This is called probe tender. This works for briskets too, but that’s a whole other monster. After you take it out of the smoker, you want to let it rest for at least an hour, preferably in a cooler or your oven. You want all the juices to redistribute through the meat.
What are you trying to pull?
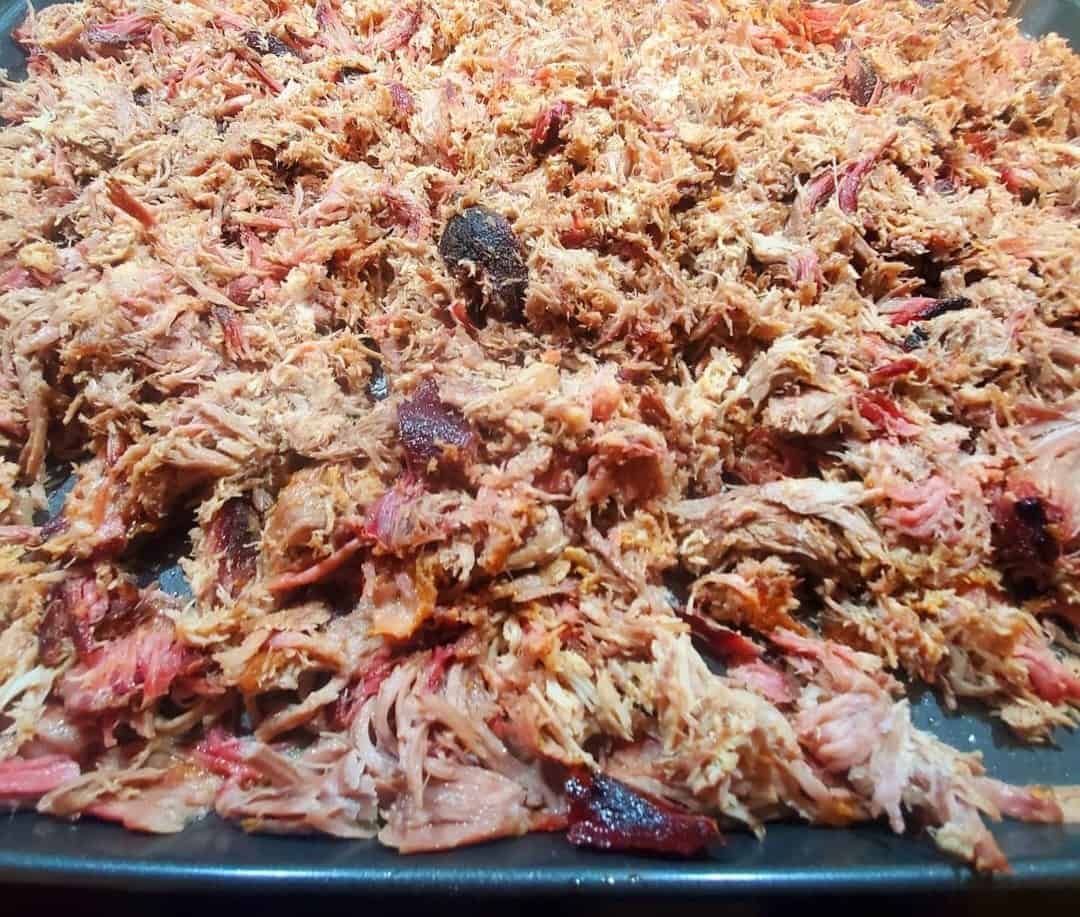
Your meat has been completely cooked and rested. Now it’s time to pull it apart. If you used a bone in pork butt, you can start by pulling the blade bone out. It should slide out with no resistance. This is another indication that your meat is done properly. There are a lot of methods out there for pulling pork. You can use two forks. I’ve seen people use a hand mixer. There are even specialty tools that look like bear claws. What I like to use is some insulated cotton gloves under a pair of nitrile gloves and just get my hands in there and tear it apart. All the other tools work just fine, but to me, it’s faster and you get a better pull with your hands.
Stay on track
The key to perfecting your process is to track it. Remember what you do each time, even write it down, and make little changes at a time so you know exactly what works for you. Don’t be afraid to try new flavor combinations. Try injecting it if you want. That will add more flavors deeper in the meat. It’s not a necessary step, that’s why I’m leaving that until now. Don’t beat yourself up if it doesn’t come out exactly how you want it to. Enjoy the process, and have fun. In the end, it’s just food.
Leftovers are also amazing! Pulled pork would go great with some eggs on one of my Buttermilk Biscuits!
