
Ok, so you want to make your own Sourdough Starter? I don’t blame you. It’s a fun science experiment that leads to tasty homemade bread and more. When you make a starter, you are basically cultivating the natural yeast that is already in the flour (and pretty much everywhere around us). But where do you start? Trust me; it’s easier than you think. I’m by no means a pro at making sourdough. I just started this journey too. With some advice from a buddy, some experimentation, and a couple mistakes, this is what worked for me. You can make your own sourdough starter with 2 ingredients, some time, and a little patience. There are a few other things that you will need that I will go over, and then you’ll be on your way to delicious homemade sourdough.
A vessel
You can’t make a starter without something to make it in. I used some basic reusable plastic containers for everything. I did use a glass jar in the refrigerator, but I’ll get to that part later. You just want something not only big enough to hold the ingredients, you want something that when this thing gets active, will have enough space for it to double or even possibly triple in size when you feed it.
A Scale
Baking is a precise science, and weighing your ingredients is much more accurate than using measuring cups. My cup may be packed tighter than yours, so the amount and final product would be totally different. Using a scale is the best way to ensure you are keeping your accuracy and repeatable results consistent. I measure everything in grams because it’s the easiest for percentages.
Ingredients
You have something to measure ingredients, and something to put them in, but what are they? This is a 100% Hydration Starter. In its simplest form, starter is made up of two ingredients-flour and water. Be careful though, not all flour will work. My first attempt at a starter, I accidentally used bleached all purpose flour. That didn’t work out very well. The very next day, I had blue spots all over my precious starter. All purpose flour is fine, but I realized that when flour is bleached…it kills off the naturally occurring yeast. Aside from bleached flour, you can use pretty much any type of flour or combination of them. I kept with all-purpose because it’s readily available.
Take two: I got some Unbleached All Purpose Flour. For water, I used room temperature, bottled, filtered water. You can use tap water if you have to, just leave it out on the counter for an hour or so, to let the chlorine evaporate (don’t want to bleach our little buddies again.)
The Process
Day 1:
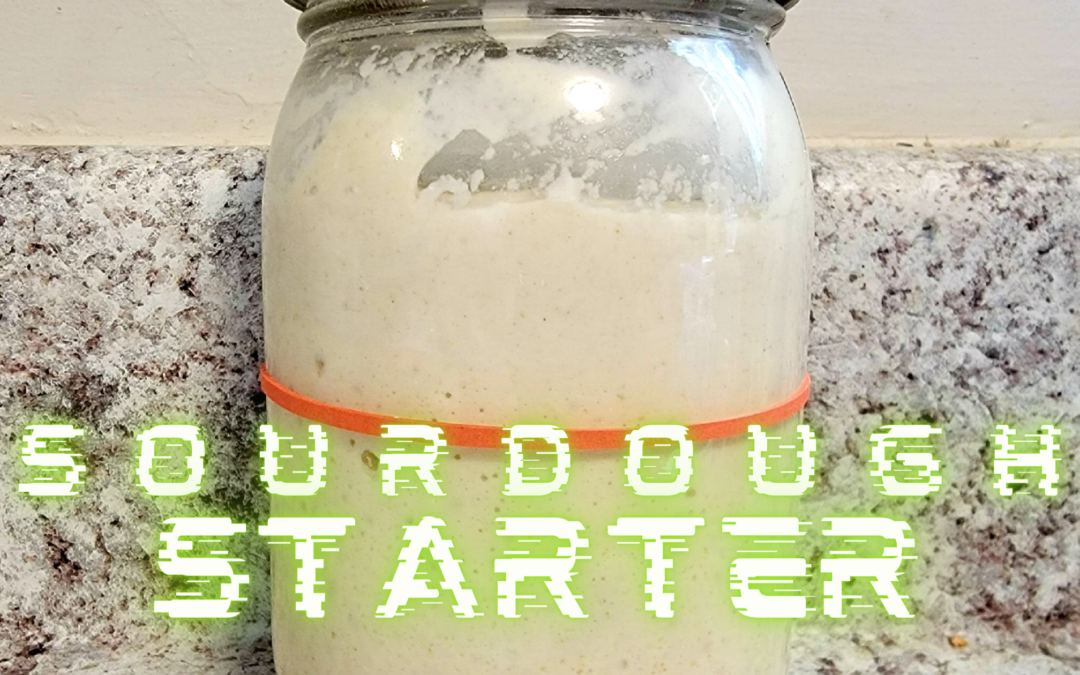
In a clean container, add 100 grams of unbleached AP flour and 100 grams of filtered room temperature water and stir vigorously. Lightly put a lid on it (I say lightly because if you close it tightly, it could explode) and mark the level using a rubber band (like I did) so you can watch for rising.


Day 2:
Discard all except 100 grams of the starter. Add 100 grams of Unbleached AP Flour and 100 grams of filtered room temperature water and stir vigorously. Just like the day before, mark the level on the container.


Day 3:
Discard all except for 100 grams of the starter. Add 100 grams of Unbleached AP Flour and 100 grams of filtered room temperature water and stir vigorously. Just like the day before, mark the level on the container. You should start to smell the funkiness of the sourdough getting stronger. You should also start to notice that the starter is starting to loosen up. You may see some yellow liquid towards the top when you go to feed your starter. It’s ok, that liquid is called “hooch.” It’s the alcohol created by the yeast eating the sugar in the flour. Just mix it in and you’ll be fine.
Day 4:
I think you’re seeing a pattern here. Complete all of the steps from the previous couple days and continue the same steps from now until the end of days. This discard is great to use in Sourdough Pancakes like the recipe I posted, and other fun things.

Around day 7 or later, you should be seeing the starter roughly doubling in size within around 6 hours after you feed it. You should also notice the consistency is much looser and bubblier at feeding; almost web-like. Now you’re starter should be close to ripe enough to use. A great way I’ve seen to test if your starter is ready to us is the “Float Test.” Fill a bowl or glass with water, scoop a spoon full of your starter and pour it into the water. If it floats, the starter is ready to use. If it sinks, it needs a little more time.
Feeding frequency and storage
You can leave your starter at room temperature indefinitely, as long as you feed it daily. It’s kind of like taking care of a pet. If you don’t have time to feed it constantly, you can slow down the activity of the yeast by putting it in the refrigerator. Refrigerated starter only needs to be fed once a week. When you’re ready to use the refrigerated starter, pull it out of the refrigerator the night before you want to use it and you’re good to go in the morning. When you’re done, just put it right back in the refrigerator and go back to the once per week feedings.
Making your own starter is a fun adventure that pays off with tasty treats. Like I said, “I’m no sourdough expert.” I do my homework, and I’ve gotten some great advice. This is what worked for me. I’m sure it will work for you too.
